TM 1-4920-500-13&P
ARMAMENT AND ELECTRICAL SHOP
OPERATION UNDER USUAL CONDITIONS
NOTES
Ensure hinged floor is clear of items or debris and floor hinges are clean of
sand or dirt.
Ensure top of hinged roof is clear of items, debris, snow, or ice and hinged
floor extension is clear of foreign matter, snow, or ice.
Do not attempt to remove ISO jack assemblies until after shelter has been
lowered.
When floor is lowered, (to allow roof clearance for folding) devices securing
fold-out floor support cables can be disengaged.
REMOVING AREA LIGHT
3
2
1
10
5
4
6
9
8
7
SSAE104
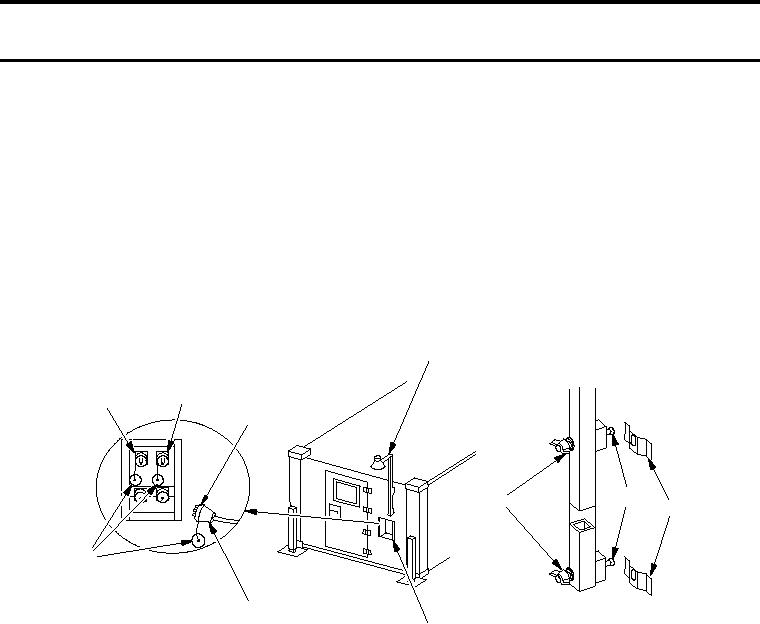
1. Disconnect area light cable (8) from either "J3" or "J4" connector (1 or 2) on power entry panel (7) by
loosening lock ring (10).
2. Replace protective dust cap (9) on "J3" or "J4" connector (1 or 2) on power entry panel (7).
3. Replace protective dust cap (9) on area light cable (8).
NOTE
Do not remove wing nuts from screws.
4. Loosen, NOT removing, wing nuts (4) and remove area light (3) from location outside shelter.
5. Roll up area light cable (8).
6. Remove bulb and store in shelter BII box.
7. Install area light (3) on inside fixed personnel end wall by securing mounting screws (5) to mounting brackets
(6) and tightening wing nuts (4).

