Figure 6-21. Cleaning the Nozzle Tip
results, Start with a cleaning wire of.008 -
.010 Inch (0.20 ± 0.003 mm) and .010 inch
(.028 mm) for final cleaning. Clean the sac
hole with a .051 Inch (1.3 mm) diameter
drill. See Figure 6-22.
(5)
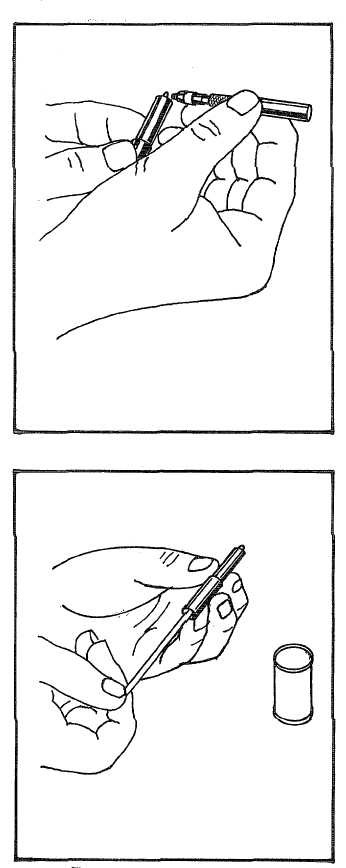
Clean the valve seat area with a special
brass scraper tool. Use cleaning tallow on
the end of a 2.inch (50 mm) cleaning stick
to polish the seat. Use a sac hole drill to
push the tallow through the orifices. All
openings must be open and clean, See
Figure 6-23.
(6)
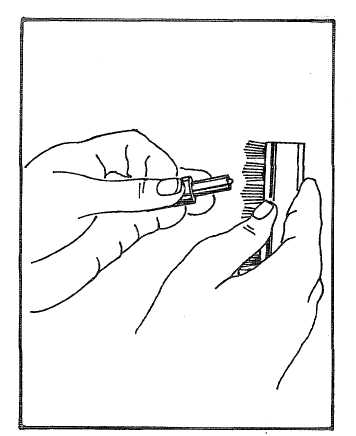
Gum deposits may be removed with a
brass wire brush, The upper portion (large
diameter) of the valve should not be held
between the finger, since damage from
corrosion could re-suit, See Figure 6-24.
c.
Refer to paragraph 6-3.b for general in-spection
instructions.
(1)
Using a magnifier, inspect the mating
surfaces
of
the
nozzle
components,
particularly the intermediate plate (5) and
nozzle (6) for nicks, scratches or signs of
corrosion. Failure of these
Figure 6-23. Cleaning Nozzle and Seat
6-60
Figure 6-22. Cleaning the Orifice Holes


