
TM 1-4920-436-13&P
0037 00
REPAIR OR REPLACEMENT
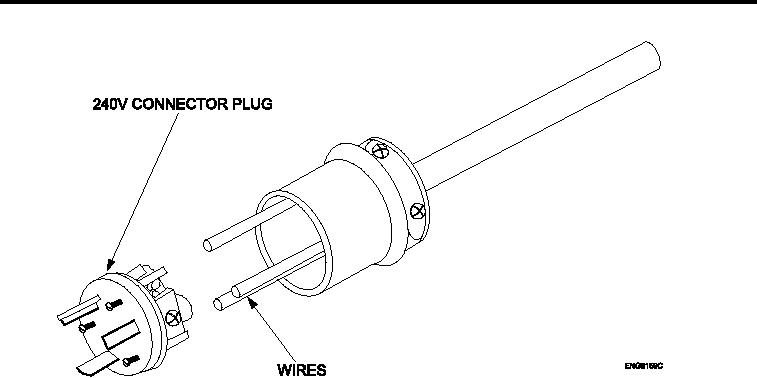
Figure 3.
Replace Plug Connector.
1.
Connect wires to "X", "Y", and ground terminals on new 240V connector plug.
2.
Reattach 240V connector plug face to body of 240V connector plug.
3.
Insert three screws and tighten.
4.
Tighten two screws in 240V connector plug body.
5.
Loosen two screws from body of 240V connector plug housing.
6.
Loosen three screws from face of 240V connector plug.
7.
Remove face of 240V connector plug from body of connector plug.
8.
Slide body of connector plug onto power cord.
9.
Connect wires of power cord to terminals on backside of connector plug face.
INSTALLATION
1.
Slide body of connector plug up power cord, mating it with three screws on face of connector plug.
2.
Tighten three screws on face of connector plug securing connector plug face to connector plug body.
3.
Tighten two screws on connector plug body housing securing connector plug to power cable.
0037 00-3