(2) Inspect the rear door retaining brackets for
dents, cracks, or other damage. Replace a
damaged bracket.
c. Installation. Refer to figure 65 and install the
retaining bracket to the rear door of the shop set
body.
97. Worklight Brackets
worklight brackets from the rear door of Model
SECM shop set body.
b. Cleaning and Inspection.
(1) Clean the parts with an approved cleaning
solvent and dry thoroughly.
(2) Inspect t h e worklight b r a c k e t s for
dents, cracks, breaks, or other damage.
Straighten all dents and replace a damaged
bracket.
c. Installation. Refer to figure 65 and install the
worklight brackets to the rear door of the Model
SECM shop set body.
98. Hinged Roof Panel Latch
hinged roof panel latch from the shop set body.
b. Cleaning and Inspection.
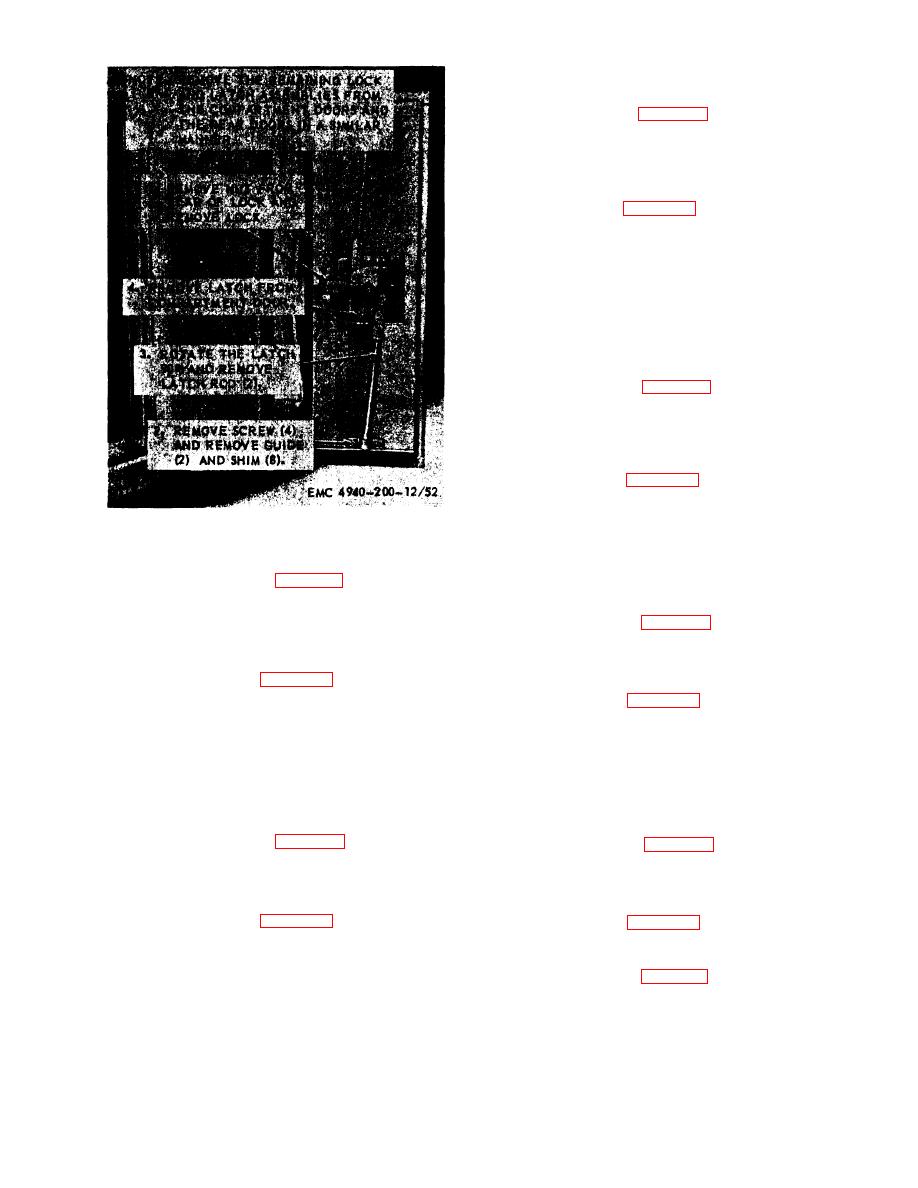
Figure 64.
Door lock and latch assemblies, removal and
(1) Clean all parts with an approval cleaning
installation.
solvent and dry thoroughly.
(2) Inspect the hinged roof panel latch for
dents, cracks, or breaks. Straighten all
door lock and latch assembly to the door of the shop
dents and replace a damaged latch.
set body .
c. Installation. Refer to figure 66 and install the
hinged roof panel latch to the shop set body.
95. Rear Door Mounting Angle
99. Door Striker Plates
mounting angle from the rear door of the shop
set body .
door striker plates from the hinged roof panel.
b. Cleaning and Inspection.
b. Cleaning and Inspection.
(1) Clean all parts with an approved cleaning
(1) Clean the parts with an approved cleaning
solvent and dry thoroughly.
solvent and dry thoroughly.
(2) Inspect the rear door mounting angle for
(2) Inspect the door striker plates for dents,
cracks, breaks, and other damage. Replace
cracks, or other damage. Replace a dam-
a damaged or defective mounting angle.
aged striker plate.
c. Installation. Refer to figure 66 and install the
mounting angle on the rear door of the truck body.
door striker plates to the hinged roof panel.
96. Rear Door Retaining Bracket
100. Tailgate and Tailgate Latch
retaining bracket from the rear door of the shop set.
tailgate and the tailgate latch from. the shop set
b. Cleaning and Inspection.
body.
(1) Clean all metal parts with an approved
b. Disassembly. Refer to figure 68 and disassemble
cleaning solvent and dry thoroughly.
the tailgate and tailgate latch.
89
TACO 5072-.4


